ThingLink
| Site: | Vitajte v prostredí e-learningu na Filozofickej fakulte PU |
| Course: | ELT: DASS Online Digital Tools |
| Book: | ThingLink |
| Printed by: | Hosťovský používateľ |
| Date: | Tuesday, 20 January 2026, 9:29 PM |
Description
A brief description of ThingLink
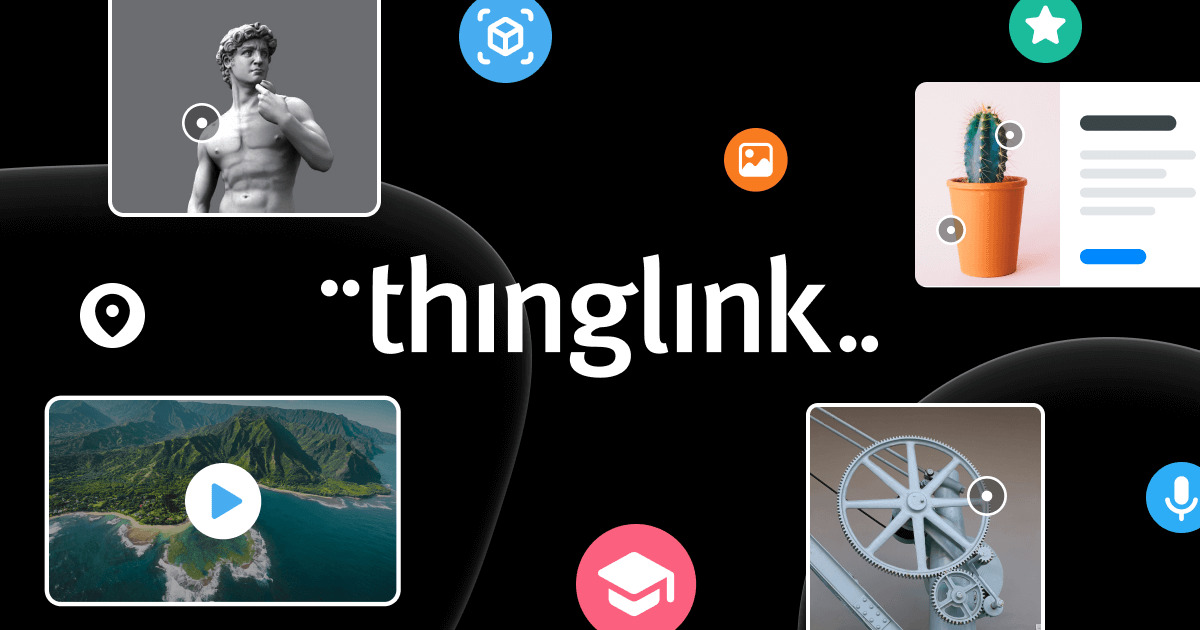
This cloud-based platform was developed in 2010. It can be used for educational purposes by schools, teachers, and students. It can be used for business enterprises, what more it can be used by governments. It is also suitable for individuals, freelancers, and personal projects. The main purpose of this website and application is to easily create and share interactive images, videos, 360 media and 3D models with clickable tags.
1. ADVANTAGES of ThingLink
1. Interaction
Teachers can link “tags” on pictures, photos, and videos. Linked images can be shared on other social networks, such as Facebook, Twitter or Pinterest even with users that do not have a Thinglink account. It is a very interactive app for both teachers and students.

2. Avabiality
This website or application is available on tablets, mobile phones, PCs and laptops. It is supported on Android, Windows, and Mac so every student and teacher can use this app.

3. Immersive reader
ThingLink has integrated Microsoft's Immersive Reader, which means all text descriptions, lessons, virtual tours, infographics, and videos created with ThingLink’s new editor now come with an integrated reading tool and automatic language translation capability. This feature makes ThingLink even more accessible, for example for people diagnosed with dyslexia disorder.

SOURCE: https://www.youtube.com/watch?v=WqgeqALarIg
2. DISADVANTAGES of ThingLink
1. Limited free features
There is limited customization in Free version. There are limitations in terms of design elements, themes or branding.

2. Dependency on internet connection
Since it is a cloud-based platform, it relies on a stable Internet connection. Users will not see changes on the platform if they have a poor connection. They also may face difficulties with editing their projects with poor connectivity.

3. Access to technology
Using the ThingLink app requires access to a smartphone or tablet. Students who do not have access to these devices may be at a disadvantage.

4. Distruction
Mobile devices, including those used for ThingLink, can be sources of distractions. Students may be tempted to engage in non-educational activities, affecting their focus.
SOURCES:
Accessibility. The University of Edinburgh. (1970, March 23).
https://www.ed.ac.uk/information-services/learning-technology/more/thinglink/accessibilityIntroduction to ThingLink. The University of Edinburgh. (1970b, March 23).
https://www.ed.ac.uk/information-services/learning-technology/more/thinglink/about-thinglink3. TIPS and FEATURES of ThingLink
WHAT ARE FEATURES OF THINGLINK?
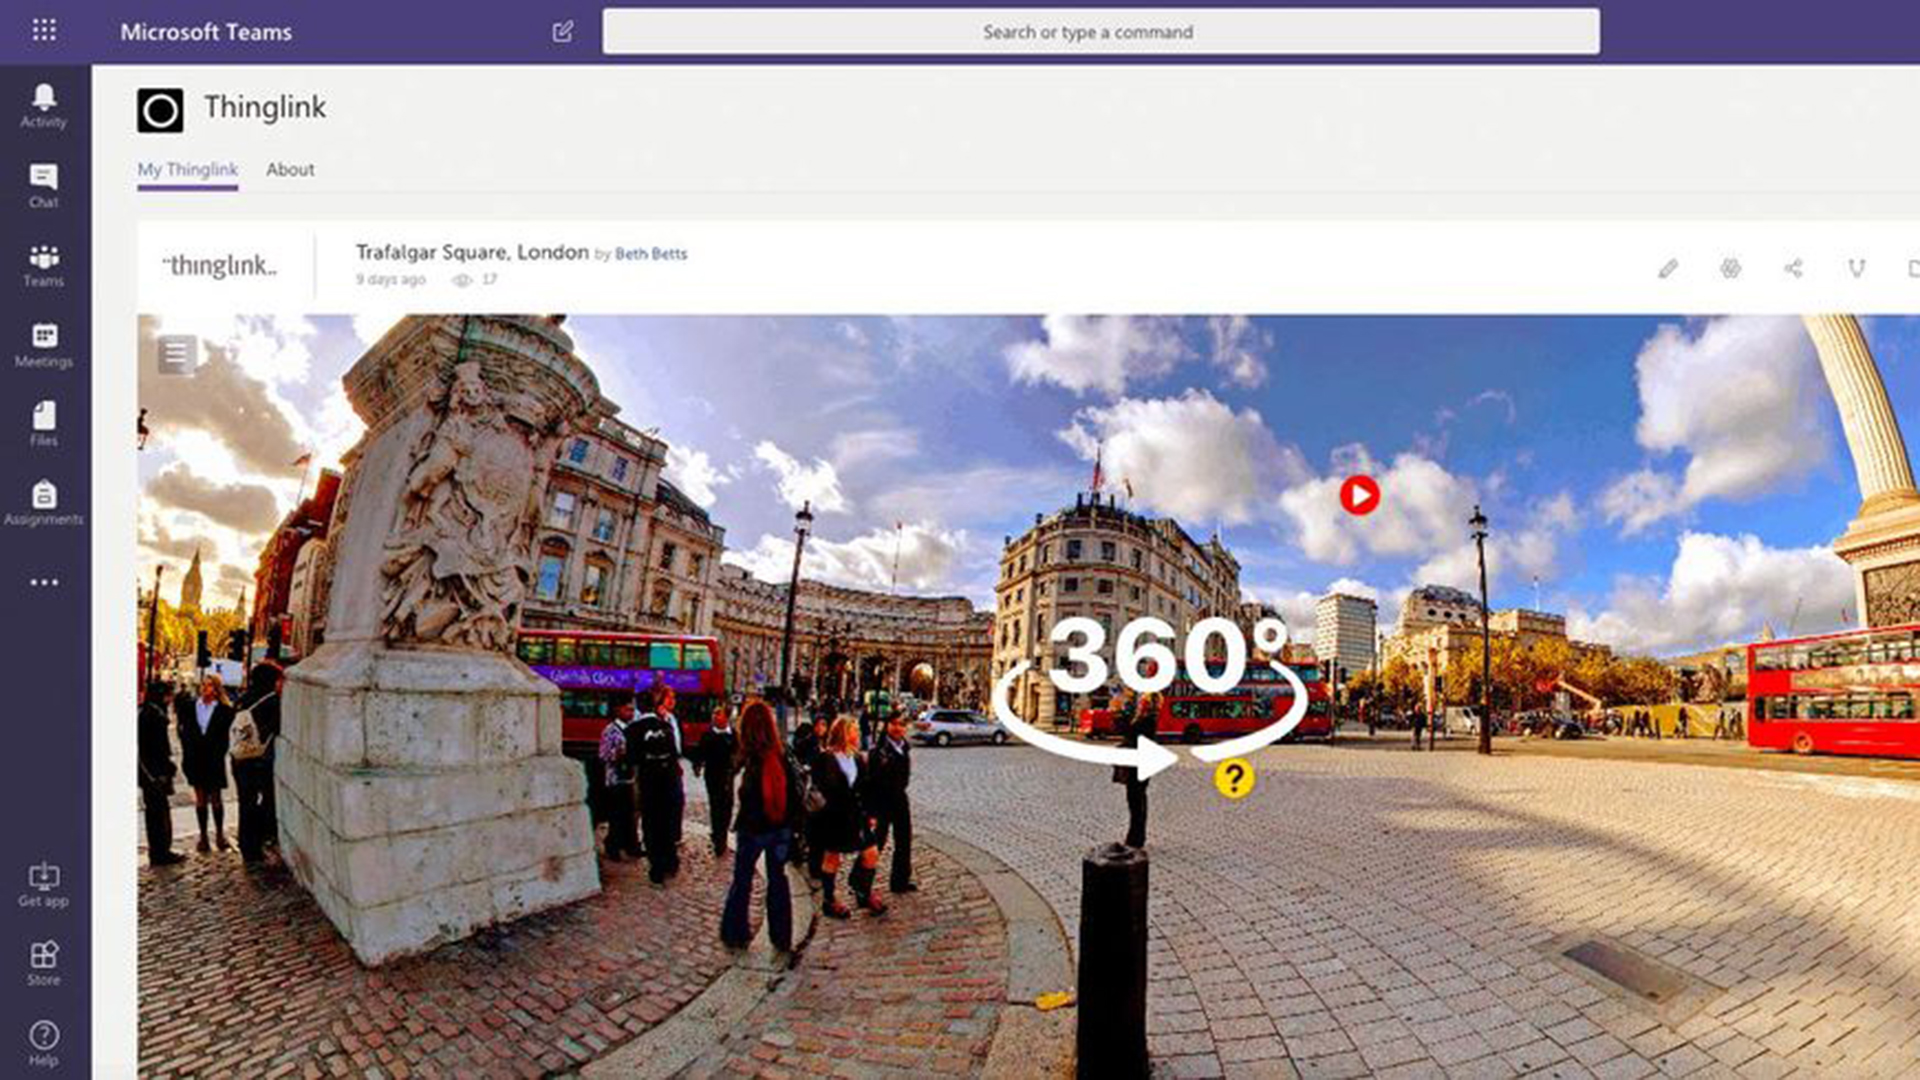
Teachers might use apps when teaching students vocabulary related to school. Through a 360-degree tour of a classroom, the teacher can add interactive hotspots. These hotspots identify specific objects and provide concise descriptions, explaining the purpose of each item.
ThingLink can make sometimes difficult and even boring subjects fun and
engaging since it offers the option to get very creative. For instance, using a map as a canvas, one
can include visual annotations with voice recordings, explainer videos, links
to additional examples, and various interactive elements.
Virtual tours on ThingLink are like magical adventures for students. It feels as if they're actually in different places, exploring cool stuff. This makes learning super interesting because it feels real and grabs their attention. Imagine you're on a virtual tour, like going on a special journey with your computer or tablet. It's not just pictures; it's like you're there! This makes learning way more fun because it feels like an awesome adventure you can be a part of. Some students learn best when they see things rather than just reading about them.
Image-based quizzes are a great way to get students thinking while keeping them engaged with visually stimulating content. Either have multiple questions pop up on a single image, or have lots of images with a question on each.
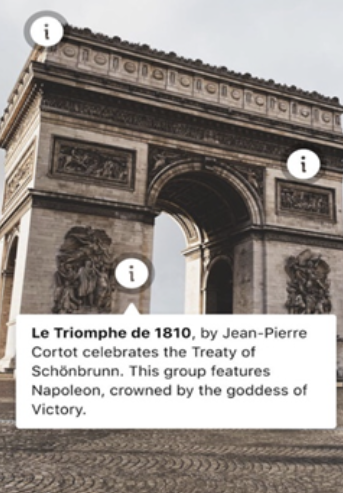
SOME TIPS HOW THINGLINK MAY HELP INTERACT YOUR CLASSROOM:

- Make a
timeline of events and use pictures or videos to help explain;
- create a digital portfolio of students‘
work over the course and show it to their parents;
- design and
share interactive digital posters;
- use an image of a person or character and include links about their life and their
important contributions to history or the topic being covered;
- include an
image of a body system and include links about how it works. For example,
the skeletal system;
- take a
picture of a worksheet, and share links to videos and websites that can help students understand and solve the problems if they need help.

SOURCES:
Edwards, L. (2023, November 27). ThingLink: How to use it to teach. TechLearningMagazine.
https://www.techlearning.com/how-to/what-is-thinglink-and-how-does-it-work
Edwards, L. (2021, March 15). Best thinglink tips and tricks for teaching. TechLearning Magazine.
https://www.techlearning.com/how-to/best-thinglink-tips-and-tricks-for-teaching4. ACTIVITY number 1
We decided to focus the first activity on English Christmas traditions and vocabulary. Students can click on the tags read a short piece of information about each tradition, and the tags will play videos for them or show pictures. Tag activity which follows after the video is focused on improving reading and listening skills of students. It also aims to deepen their knowledge about Christmas traditions and learn vocabulary.
Here is the link for the first activity: https://www.thinglink.com/card/1787618611842515430
SOURCE: https://www.youtube.com/watch?v=7cFyWMdQBQ8
Under the (source) video you will find links to other helpful materials for your students with Christmas theme. There is a worksheet, a game, a story about Santa Clause. Moreover, there are interactive grammar and listening activities.
5. ACTIVITY number 2
ACTIVITY: Interactive learning about Britain
The activity is focused on the learning more about Britain - countries of the UK, transportation, places to visit in London and more. It is perfect to use for the Geography lesson. Students can click on the hotspots and it will show them useful information, videos to watch and also some additional activity.
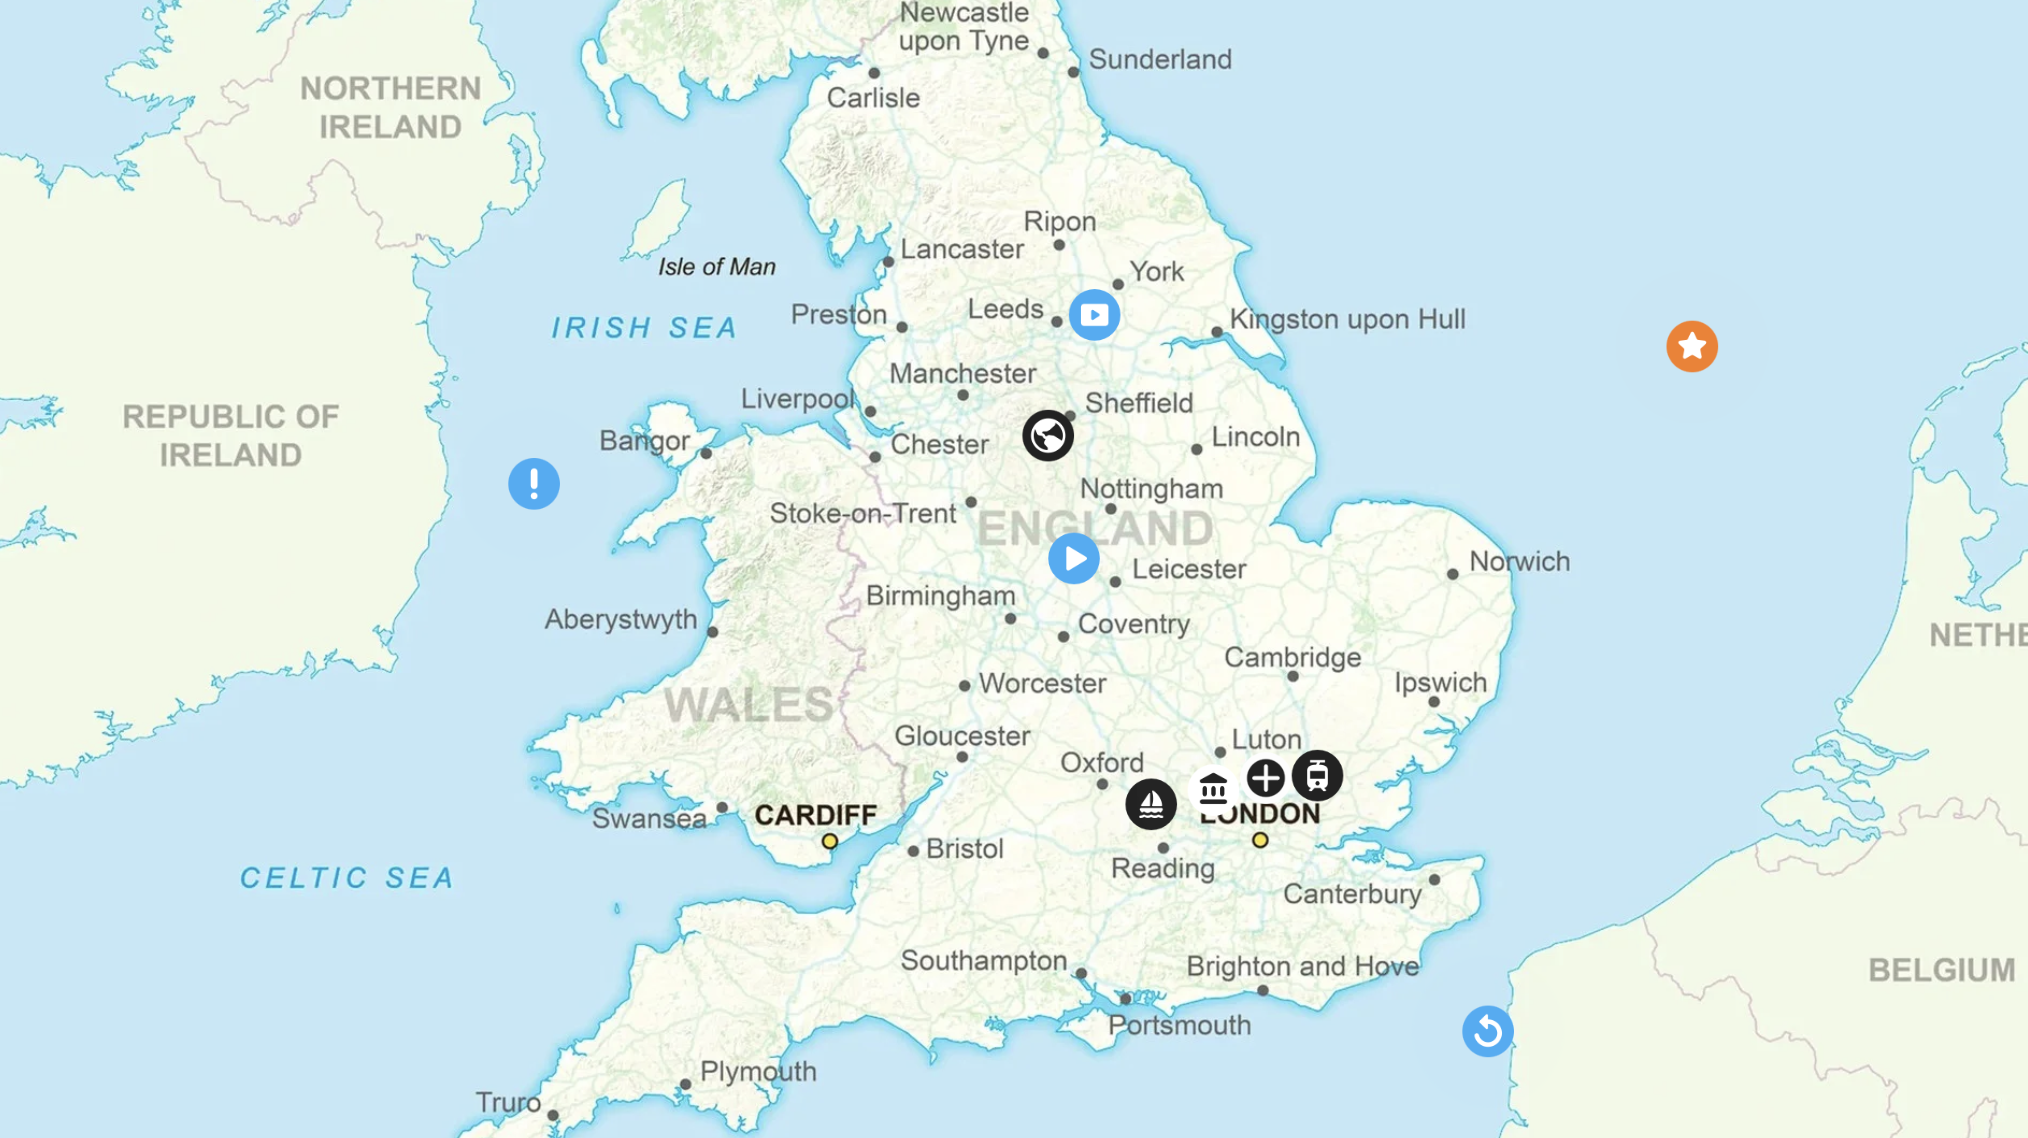
Here is the link for the second activity: https://www.thinglink.com/card/1789423107845391013
6. HOW TO add "tag" on your picture
If you want to upload tags into your picture, here is an easy way how to do it:
1. On the home page, you click on the Media icon on the right side of application, in the blue column.

2. In the media section, you have two options. You can click on the blue create button on the left, or in the middle of your screen.

3. When you click on the create button, you will see chart with the possibilities of interactive content, you can create.

4. Because we choose Image and adding tags on them, you will click on the Image.
5. They you will be asked to upload your chosen picture from your computer or cloud. Again, you will use blue button with Upload on it.

6. You will wait until your picture is uploaded in the system and then click on the blue button with Continue on it.


7. Now, you have your picture in the Thinglink app system and you can start adding your tags by clicking on the blue button with + Add tag on it.

8. Your tag will be added to the picture, and you can simply move it with your PC mouse wherever you need to have it. We choose the Christmas tree first.

9. When you have your tag on the spot you wanted (Christmas tree), you click on the button Text and media.

10. You will see a white chart, but be careful, you do not write straight to the chart. Look, on the left side of your screen. There is a part called “title” and “description” in the grey, and that is where you write. You can see you can shape the letters the same way, you would do it in Windows Word.
11. When you are done with your writing, you click on the done button in the blue, on the top og the grey column.

12. And your tag is ready to use for your students! If you want to add more tags, you simply follow these instructions again.

7. HOW TO change the visuals of your "tags"
1. If you want to change the visual of the tag, you click on the +add tag blue button.

2. You will choose what kind of tag, do you want to use on your picture (text and media, text lebel…)

3. You will click on on change the icon in the second line.

4. When you click on change the icon you will be show multiple options you can choose from.

5. And your “tag” is finally individualised the way you like it!

8. HOW TO add picture into your "tag"
1. Firsty, you need to you click on the +add tag blue button.

2. Choose what kind of tag you want to use.

3. We choose Text and media tag. As you can see there is line with Media files, which you click on, and you can add pictures from your computer. If you click on the magnifying glass icon, you will be provided with pictures from Unsplash you can use for free.


4. You can add Captions and text to your pictures. Again, you work in the light grey column on the left side of your PC screen.

5. If you do not want a picture or a blank tag layout, you have some options of changing its background colour.

9. HOW TO create a quiz
STEP BY STEP HOW TO MAKE A QUIZ IN THINGLINK?
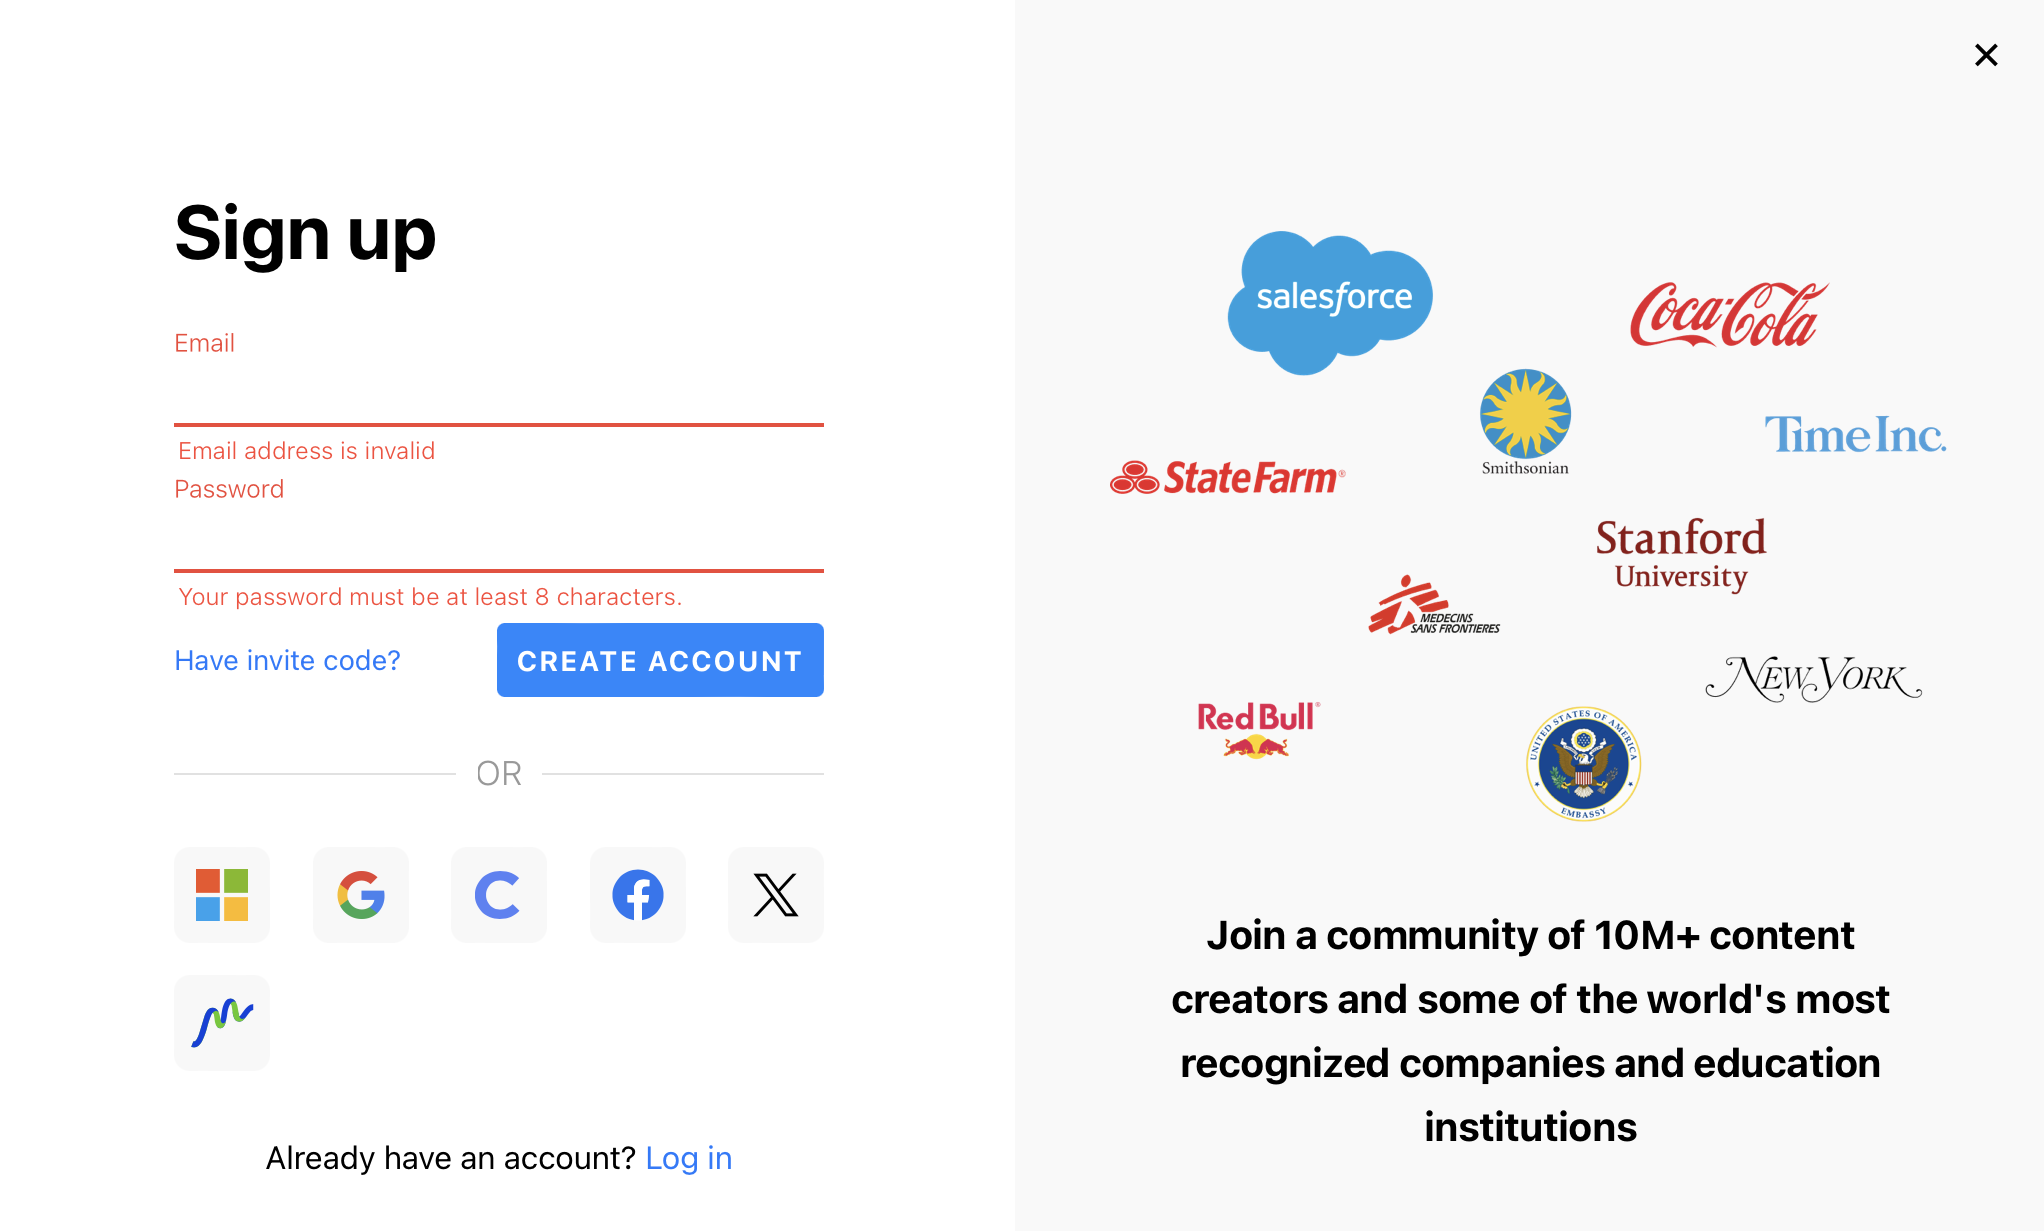
1. If you're new here, just go to the ThingLink website and sign up to make an account.

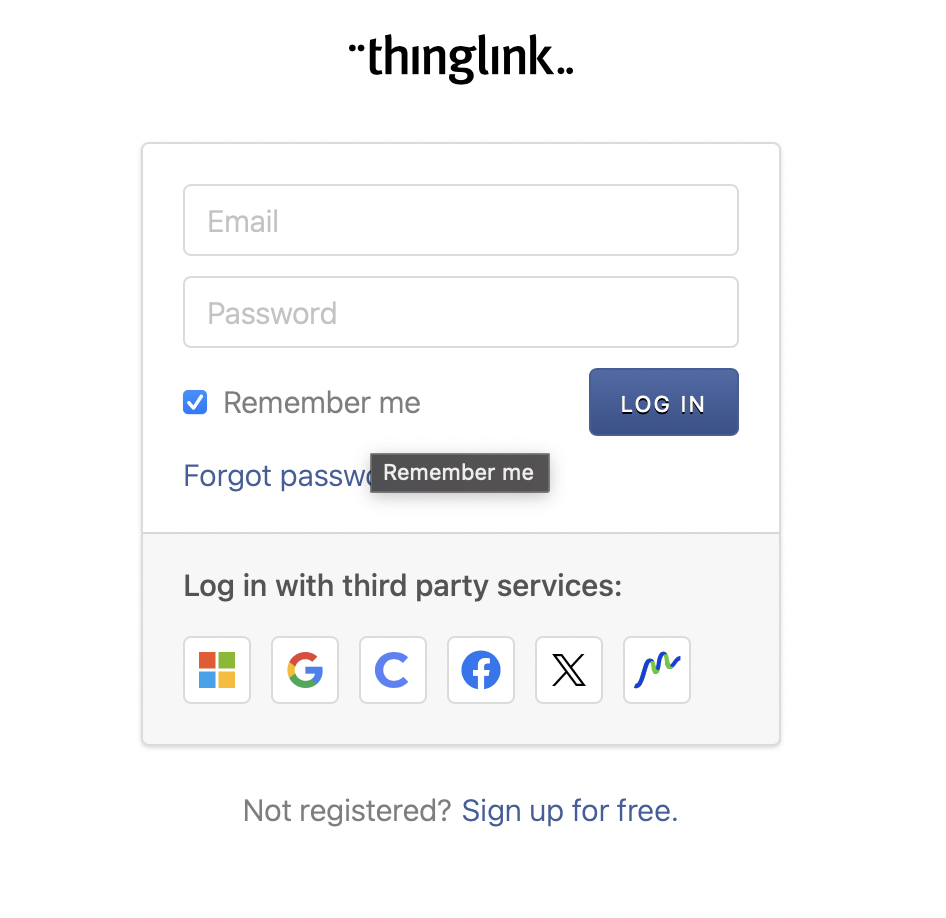
2. Log in easily once your account is set up to explore what ThingLink has to offer.
3. Start your project by clicking on 'create'—it's like opening a new door to creativity.

4. Pick a cool picture or video for your quiz and upload it.


5. Make your media more interesting by adding hotspots—spots where people can click to learn more.


6. In those hotspots, put in your quiz questions. You can make them interesting by adding words or pictures that tell the story. Connect each question to the right answer by using hotspots, so it's like a smooth journey for people taking your quiz.


7. Check out the settings to make your quiz look just how you want it to.

8. To avoid losing your project, after each step save it.
9. When you're done, share your quiz with others! You can give them a link, put it on a website, or show it off on social media. Your awesome creation is ready for the world!

10. Do's and Don'ts
DO'S
![]()
- Give clear directions on how to interact with your content by providing simple instructions
- Check compatibility with the latest app updates and different browsers and devices
- Use the analytics features in the app to learn how users are interacting and enhance your content based on that information
- Embed links, videos, and additional information to enhance the user experience
- Before making your content public, carefully check all interactive parts to make sure they function correctly as you intended
- Show users how to share interactive content on social media to spread and engage with the content
- Do use audio notes on photos or screenshots to provide additional context or explanations for your work
DON'TS

- Avoid using low-quality pictures and videos as it can negatively impact the overall user experience
- Do not include many interactive features as it may distract the users
- Do not ignore copyright laws; use only media you're allowed to use and give proper credit when needed
- Do not use too much information in your content to avoid distraction
- Don't use media without proper permissions